
Why Even Invoke an RPA process in MuleSoft using HTTP?
Simple! Sometimes, it is required that a system Invoke an RPA process in MuleSoft using HTTP so that another system can call said RPA process. In such cases, the RPA must be moved into the Production phase and an Invokable Run Configuration must be configured for it in MuleSoft RPA Manager. After creating the invokable run configuration, the URL for invoking the RPA can be found in Anypoint Exchange. To keep everything secure, credentials will also need to be set up for authorizing the HTTP request to the API.
Given an RPA process that has successfully completed its test plans in the Test phase, follow the steps below to create an Invokable Run Configuration.
- Create a Connected App that can invoke RPA APIs.
- Promote the RPA process to the Production phase in RPA Manager.
- Set up an Invokable Run Configuration.
- Get the RPA’s URL from Anypoint Exchange.
Details on each of the steps above will be explained below.
Create a Connected App
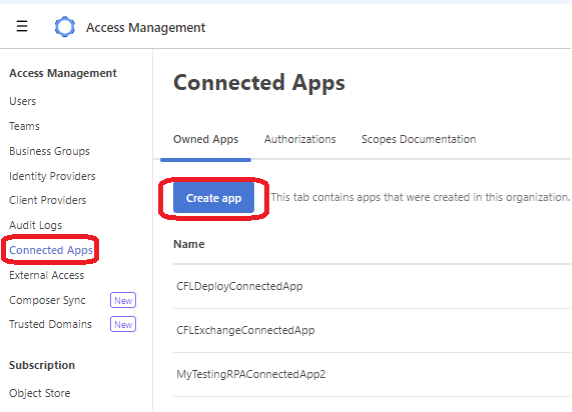
Log in to Anypoint Platform and navigate to Access Management. (This step requires the logged-in user to have Organization Administrator permission in Access Management.) From there, click Connected Apps in the left-hand panel. Then click the “Create app” button:
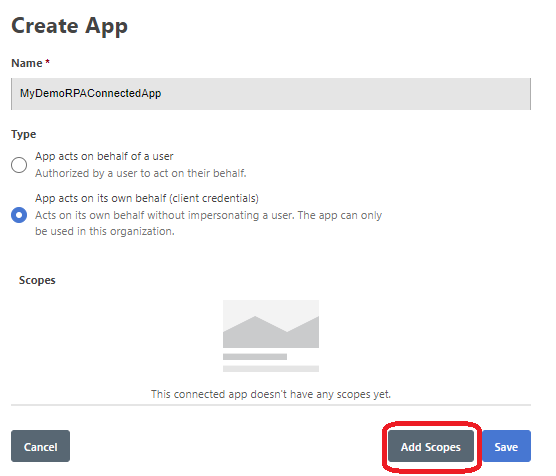
Enter a Name for the Connected App, and for Type, select “App acts on its own behalf (client credentials)” and click “Add Scopes”:
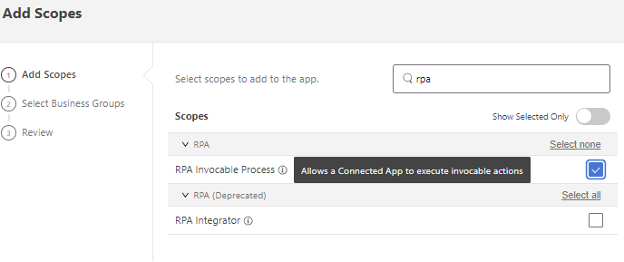
In the Add Scopes pop-up, find and select “RPA Invocable Process” and then click Next:
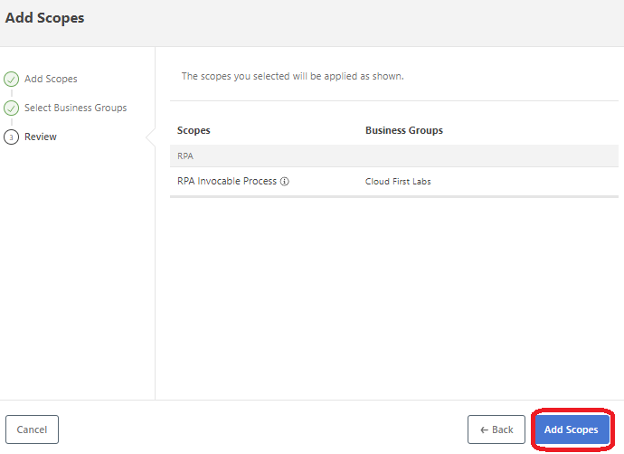
Select the Business Group(s) that the relevant RPA processes belong to and click Next. Then finally click “Add Scopes”:
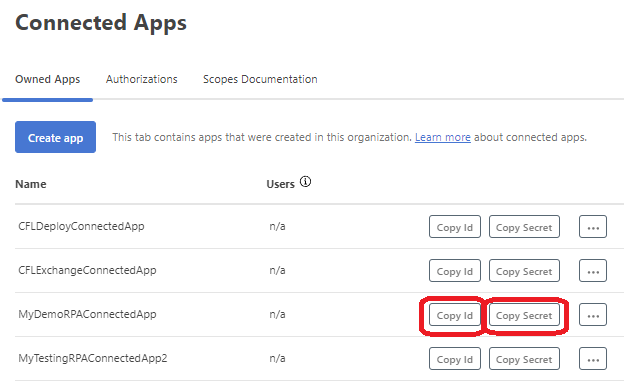
Then click Save, at which point the Connected App is created. It should now show on the Connected Apps page, where you can click “Copy Id” and “Copy Secret”. Be sure to save the Id and Secret values; these will be used later for invoking the RPA via HTTP call.
Promote the RPA Process to the Production Phase
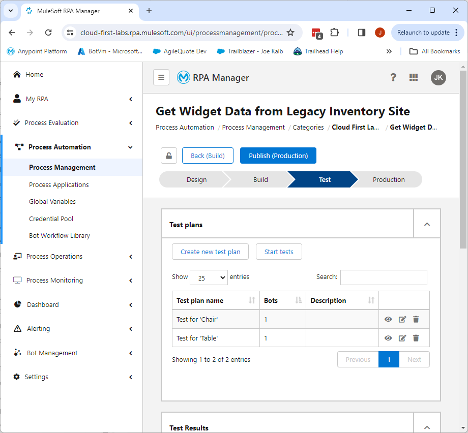
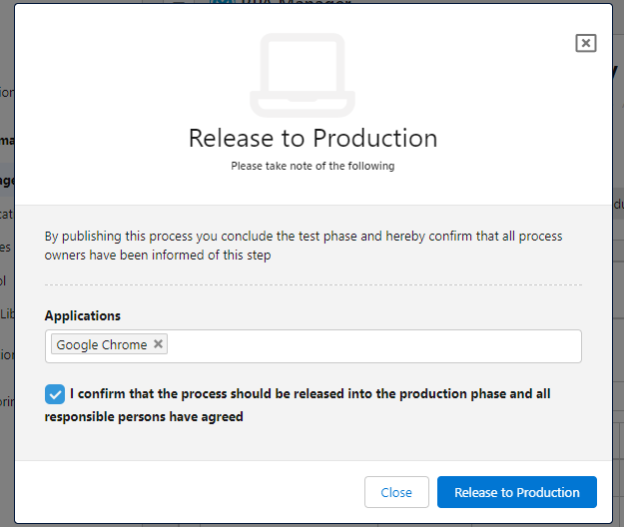
Promote the RPA process to the Production phase in RPA Manager. To do this, go to RPA Manager -> Process Automation -> Process Management. Select the relevant Category. Then select the relevant RPA process. Click the “Publish (Production)” button. In the pop-up window, check the checkbox to confirm the release of the process and click “Release to Production”:
Create an Invokable Run Configuration
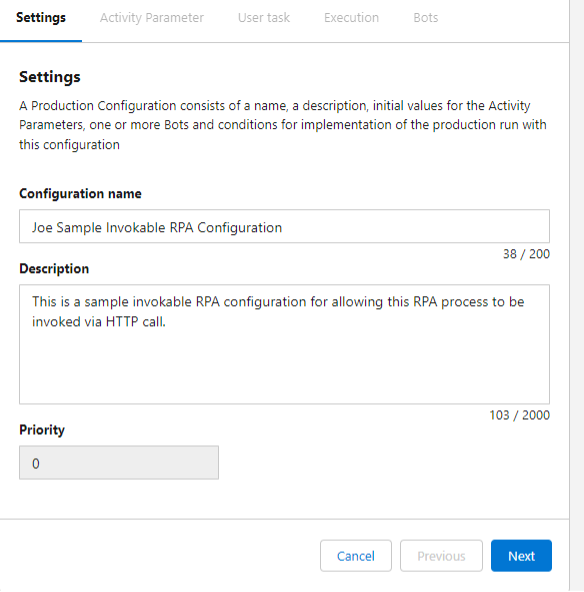
To set up an Invokable Run Configuration on an RPA process that is in the Production phase, navigate to that RPA process in RPA Manager. To do this, go to RPA Manager -> Process Automation -> Process Management, then select the relevant Category and Process. Then under “Production configurations”, select “Create an invokable run configuration”.
Enter a name and description:
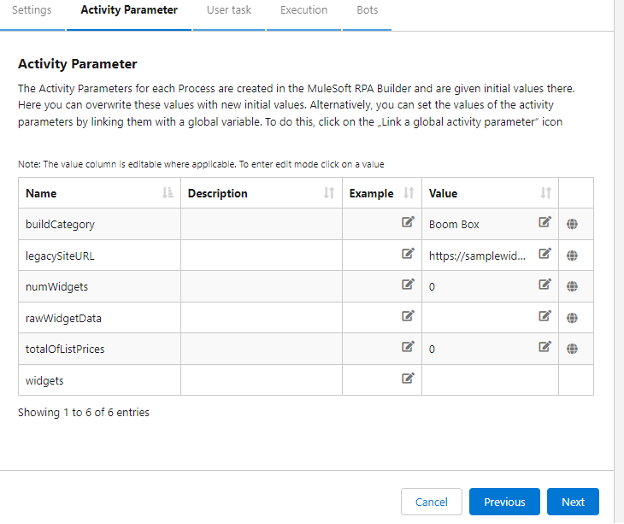
Configure the default values for the process’s activity parameters:
Configure any needed user tasks:

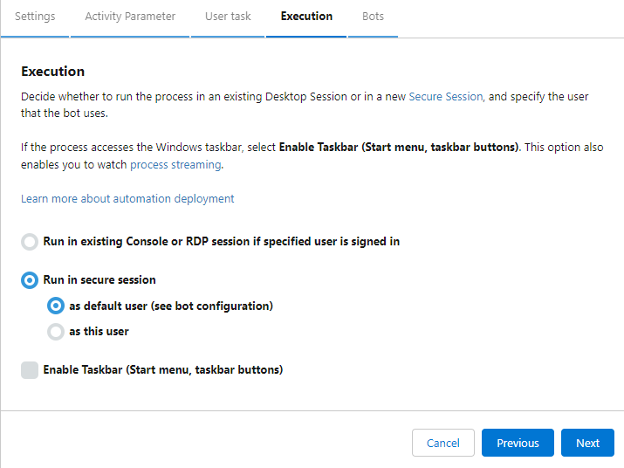
Configure the Execution (“Run in secure session as default user” is recommended):
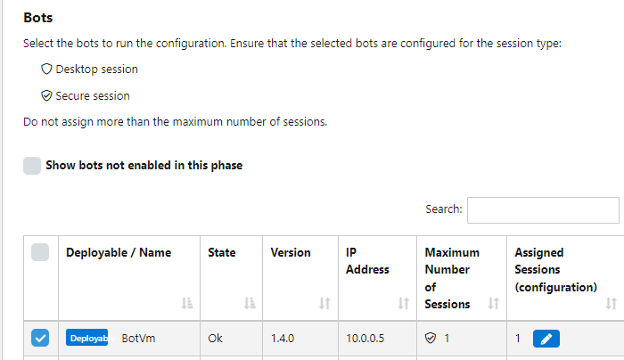
Configure the bot(s) for the process to run on:
And lastly, click “Save & Publish”.
Get the RPA API URL from Anypoint Exchange
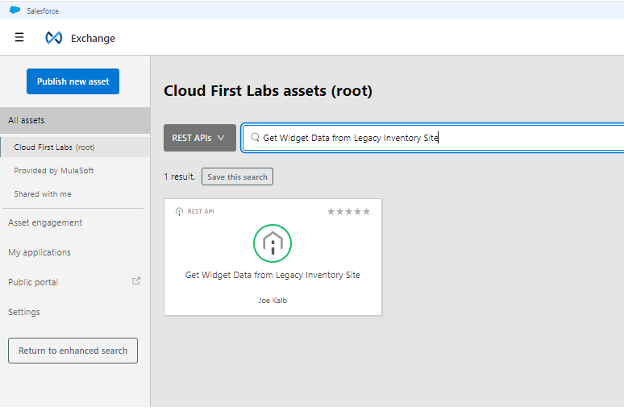
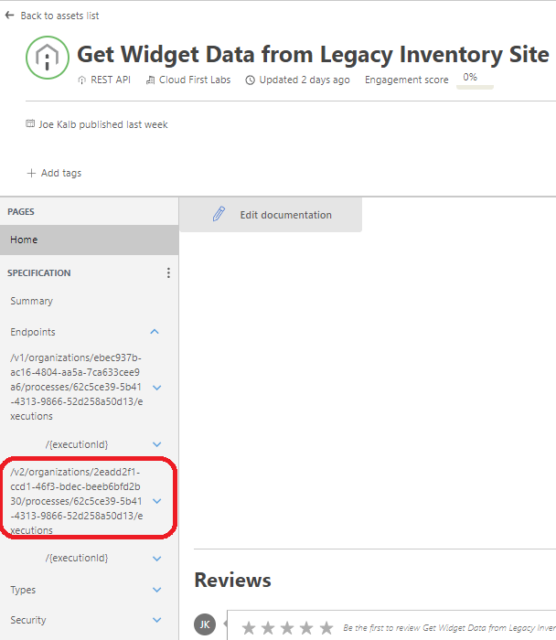
Upon creating the invokable run configuration for the RPA process, a “REST API” asset gets created in Anypoint Exchange. Within that asset, the URL can be found for invoking the RPA process via HTTP. To find the URL, navigate to Exchange. Then search for the name of the RPA (in my case, my RPA process is named “Get Widget Data from Legacy Inventory Site”) and select the asset with a matching name and a type = “REST API”:
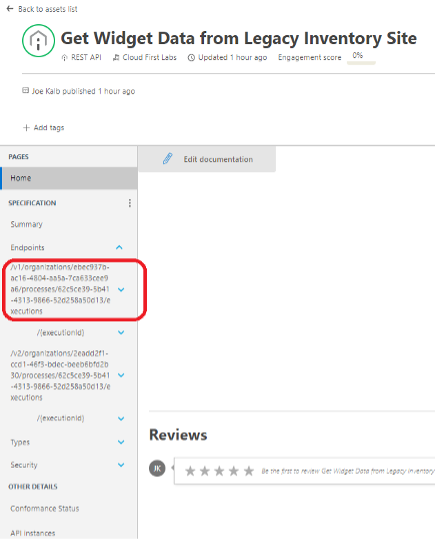
After clicking the link to open the REST API asset, the asset’s Exchange page opens. Click on the second entry under Endpoints (the one starting with “/v2/”; this v2 URL is the one required for use with OAuth 2.0-based Connected App credentials we are using in this demo) in the left-hand panel to expand it.
Then click on the PUT startProcessV2 link:
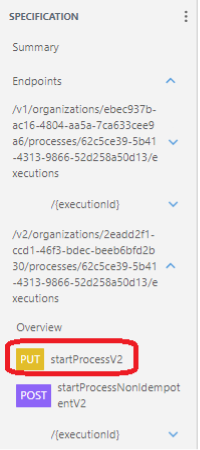
After you do this, it will show a URL on the page:

This is the URL that will be used in Part 2 of this series to show how to use Postman to invoke the RPA process. Stay tuned for Part 2 next week! Until then, watch the video version of this blog on YouTube:
Talk to the Professionals!
To learn more about our MuleSoft RPA or Salesforce services, please visit our website or fill out a Contact Us form here.